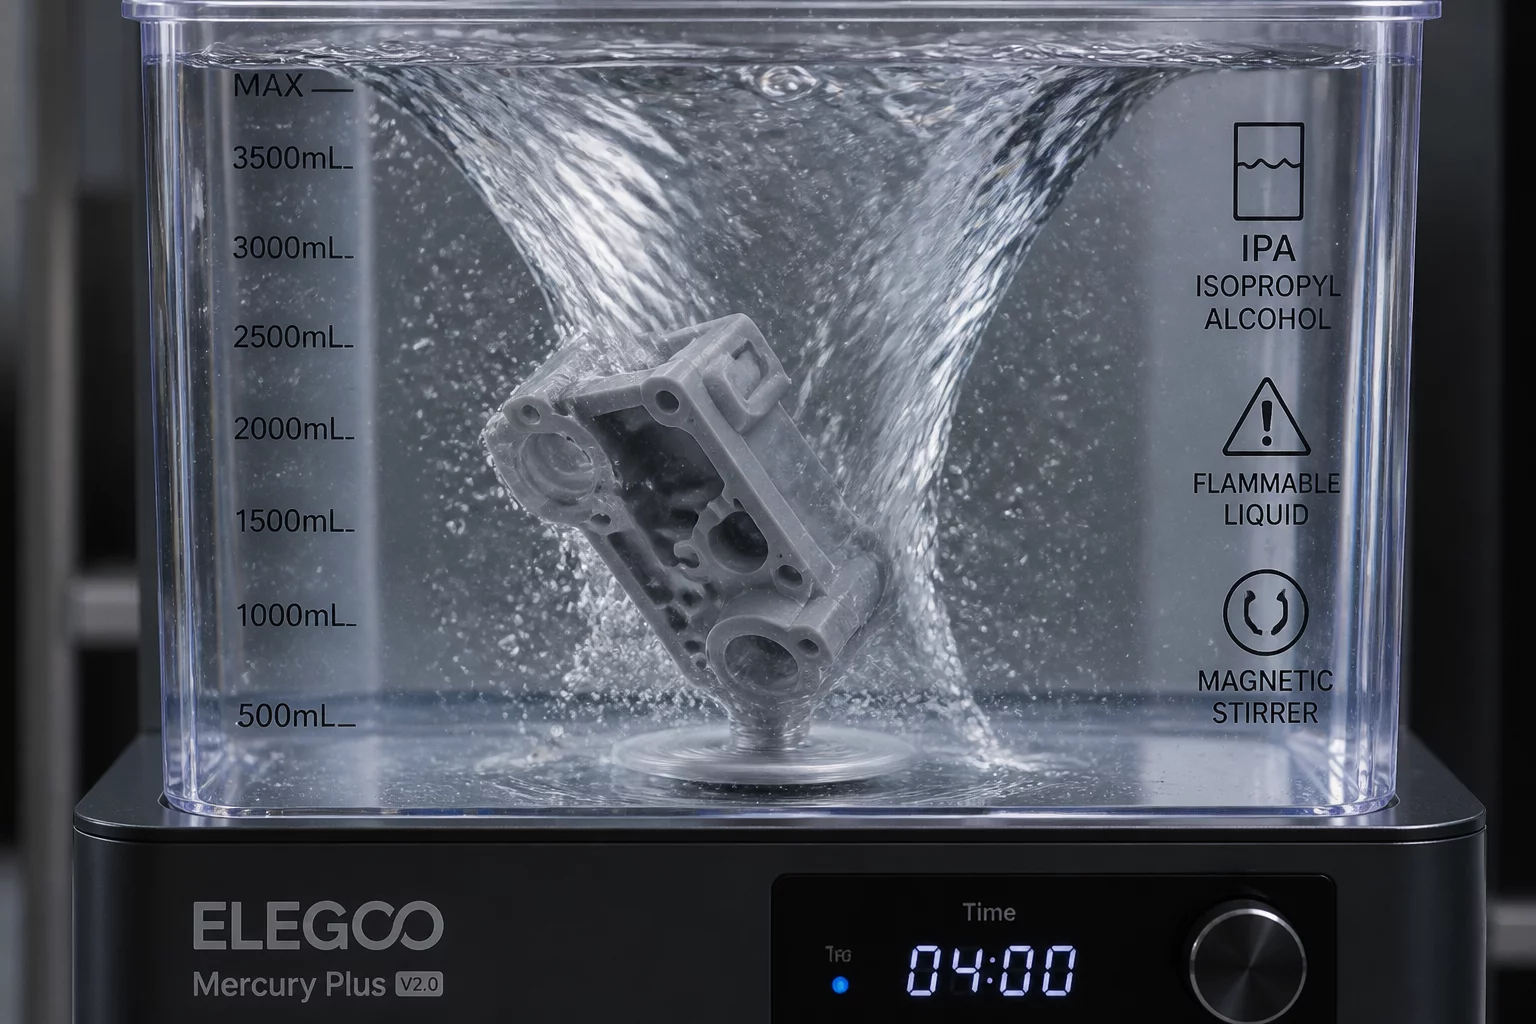
The Challenge of Recessed Geometries in Resin Prints
Photopolymer resin printing achieves remarkable detail, but liquid resin tends to cling to narrow channels and blind holes due to surface tension. When printing high-precision parts, uncured resin remains trapped in these recessed features. Leaving this residue behind causes dimensions to shift and details to clog during the post-curing phase. Achieving perfect dimensional accuracy requires a systematic approach to cleaning these internal cavities before final UV exposure.
Selecting the Optimal Solvent and Agitation Method
Clean parts using high-purity solvents like Isopropyl Alcohol (IPA) of 99% concentration or Tripropylene Glycol Methyl Ether (TPM) for delicate geometries. While IPA evaporates quickly, TPM offers lower volatility and works exceptionally well for complex channels. Combine the solvent with active agitation to break the boundary layer of resin clinging to the plastic walls.
Utilize magnetic stirrers or ultrasonic cleaners to create a localized vortex. The moving liquid flows into the deep recesses and flushes out the high-viscosity uncured material. Limit ultrasonic cleaning times for thin-walled parts to prevent micro-fractures in the green state.
Step-by-Step Washing Procedure
Follow these operational steps to ensure all internal channels are completely cleared of uncured photopolymer:
- Pre-wash the printed part in a secondary bath of used IPA to remove the bulk of the external liquid resin.
- Submerge the part in the primary wash station with fresh solvent for three to five minutes.
- Use a dedicated fine-tipped syringe to manually flush clean solvent directly into deep blind holes and narrow channels.
- Agitate the syringe plunger multiple times to force liquid in and out of the cavity, ensuring no trapped resin pockets remain.
- Blow compressed air through the channels to check for any glossy residue, indicating uncured resin is still present.
- Repeat the localized flushing if any shiny patches or sticky areas remain inside the recessed features.
Ensuring Thorough Drying Before Post-Curing
Dry the washed components completely before exposing them to UV light. Any solvent trapped inside the cavities will degrade the resin structure when heated or cured, causing stress cracks and surface clouding. Place the clean parts in a well-ventilated drying area or use a low-temperature drying oven set to 35°C for fifteen minutes. Once the solvent evaporates entirely, proceed to the final UV curing stage to set the mechanical properties.
Add Your Perspective