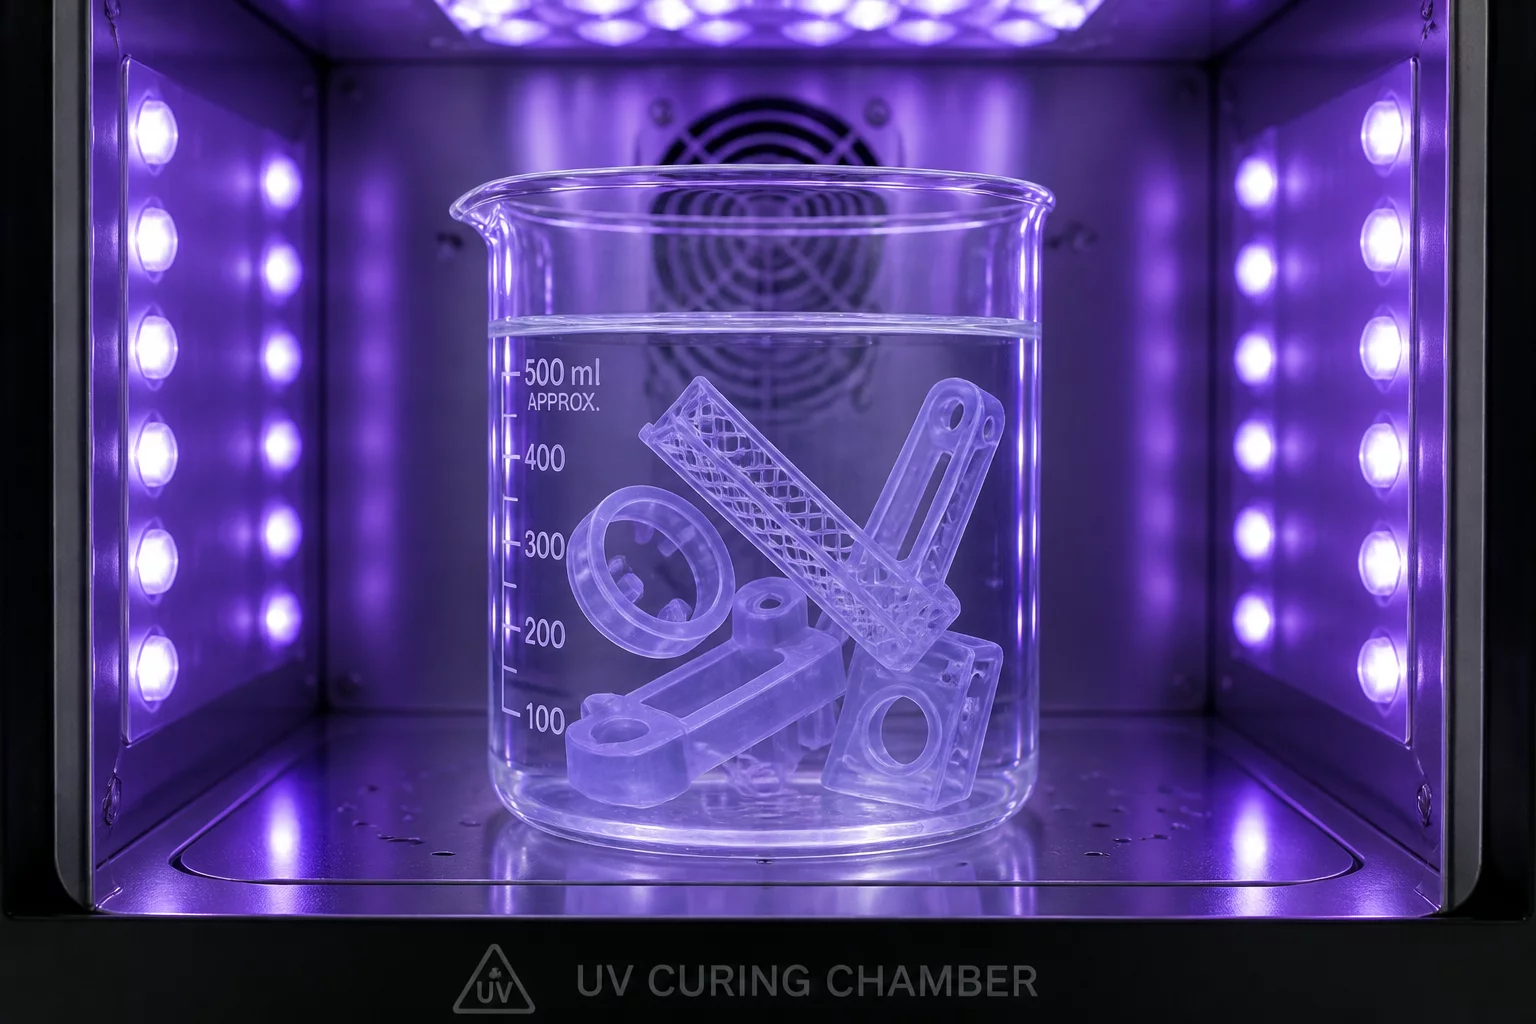
Post-curing is a non-negotiable step in resin 3D printing to achieve full mechanical strength. However, when dealing with thin-walled parts, this final step often becomes the source of prints warping, bending, or cracking. Because thin sections lack the bulk volume to resist internal stresses during photopolymerization, uneven UV exposure and heat will inevitably lead to dimensional failure if not managed carefully.
The Physics of Warping in Thin Sections
As liquid photopolymer resin transitions to a solid polymer state, it undergoes localized volumetric shrinkage. During the printing process, this shrinkage is partially constrained by the build plate and the surrounding geometry. Once the print is detached and exposed to intense UV light during post-curing, the remaining unreacted monomers cross-link rapidly. If one side of a thin wall cures faster than the other, the resulting stress differential pulls the wall toward the more intensively cured side, causing immediate warpage.
Why Oxygen Inhibition Matters
Oxygen in the ambient air acts as a cure inhibitor on the surface of liquid resin. When you cure a part in the open air, the outermost layer remains slightly under-cured while the inner layers cure fully. For thick parts, this difference is negligible. For thin-walled parts, this gradient creates a powerful pulling force that twists the geometry. Curing the part under water blocks ambient oxygen, leading to a faster, more uniform surface cure that distributes stresses evenly across the wall thickness.
Step-by-Step Curing Protocol
To safely process delicate thin-walled prints, follow this controlled operational sequence:
- Remove supports prior to curing: Snip away delicate supports using flush cutters while the resin is still green and slightly flexible. Attempting to remove supports after curing often snaps the thin wall itself.
- Submerge in clean water: Place the print into a clear glass container filled with room-temperature water. Ensure the part is fully submerged to eliminate oxygen contact.
- Use low-intensity UV cycles: Instead of a single long blast of high-intensity UV light, use multiple short cycles (e.g., three 1-minute cycles) and rotate the part between cycles.
- Allow to dry naturally: After the curing cycles, remove the part from the water bath and let it air-dry completely at room temperature. Avoid using hot air guns, which can introduce thermal warping.
Add Your Perspective