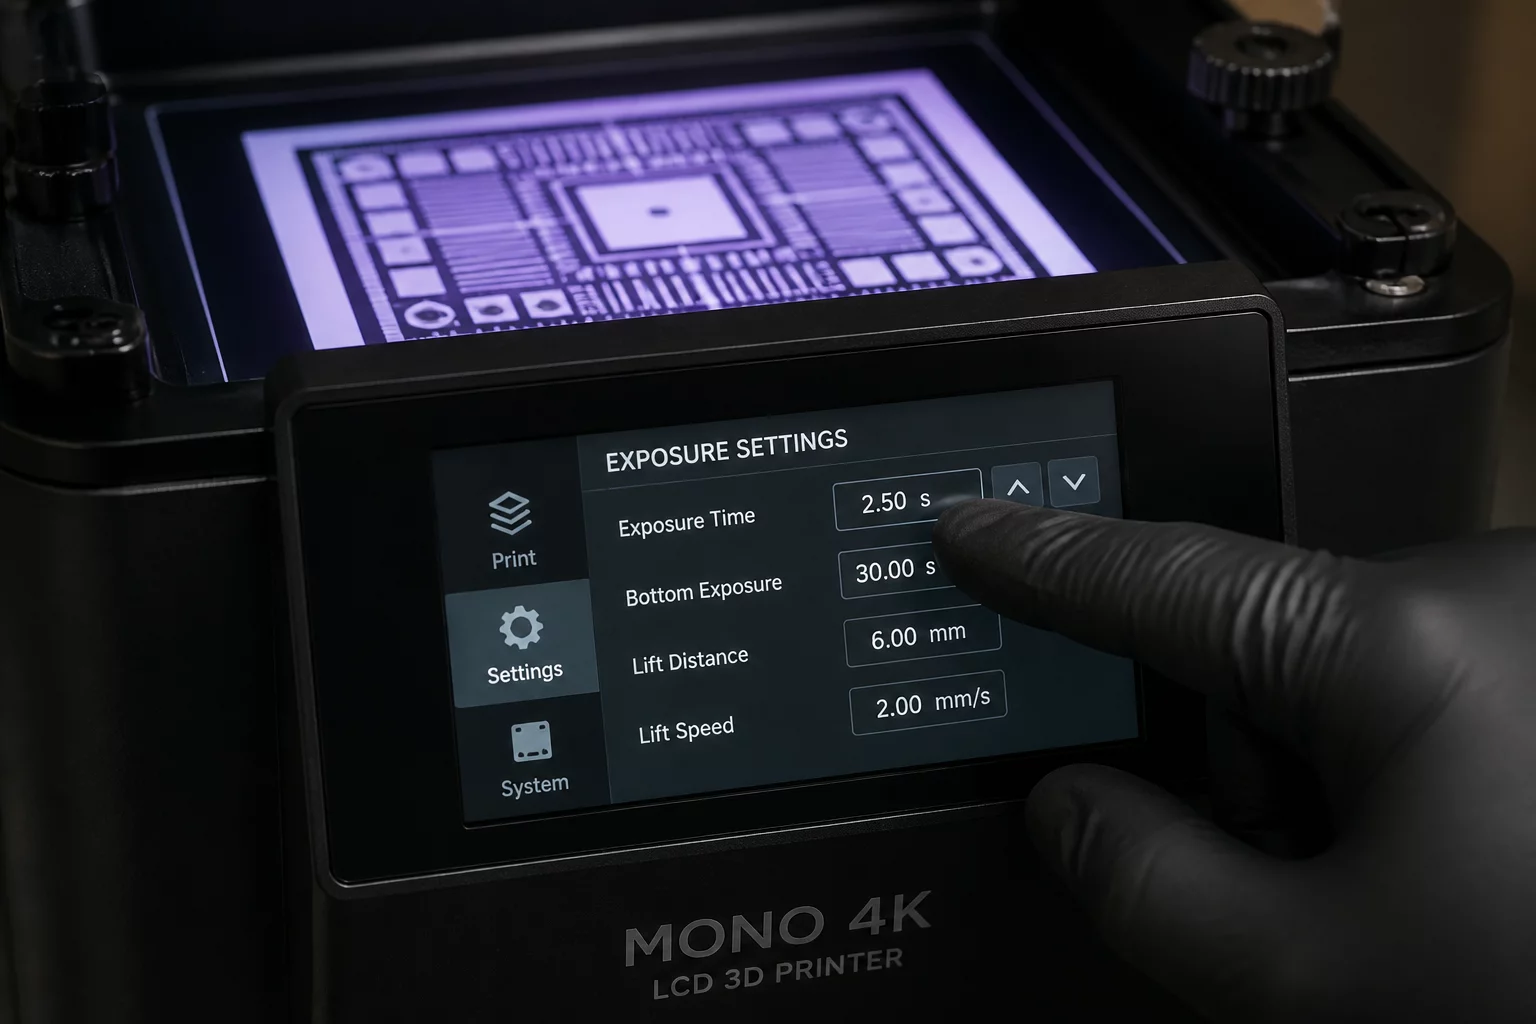
The Physics of Micro-Precision
In the world of resin 3D printing, optimizing exposure for micro details is often a battle against the physics of light scattering. While high-resolution monochrome screens promise sub-micron accuracy, the final result is dictated by how long each layer interacts with the UV light source. If the light stays on too long, photons scatter within the liquid resin, curing material slightly outside the pixel boundaries. This phenomenon, known as light bleed, is the primary reason why fine vertical structures thicken and small holes eventually close.
Over-Exposure vs. Feature Sharpness
Over-exposure is arguably the most common mistake among technicians seeking high detail. It creates a "ballooning" effect that rounds off sharp corners and fills in recessed text. To combat this, you must determine the absolute minimum exposure time that maintains structural integrity. It often means operating at the edge of failure—where your supports are just strong enough to prevent the part from detaching from the build plate, but short enough to prevent excess curing.
Controlling Layer Height for Detail
Many users assume that a smaller layer height always results in higher detail. However, a 10-micron layer increases the number of light passes through the vat, which can lead to cumulative light bleed and reduced overall clarity. For micro-detail mastery, a height of 25 to 35 microns usually provides the best results, as it balances surface smoothness with sharp feature retention. Otherwise, the constant layer switching might introduce mechanical artifacts that outweigh the Z-resolution gains.
Effective Calibration Steps
Follow this systematic approach to dial in your settings for microscopic parts:
- Start by printing a specialized exposure matrix to find the baseline curing point for your specific resin batch.
- Move to a 3D resolution test that features geometric pillars and negative space holes ranging from 0.05mm to 0.5mm.
- Incrementally reduce your exposure time by 0.1s until the smallest negative features remain open while the positive structures are fully formed.
- Always inspect the final results under a microscope or at least a 10x magnification loupe to verify crispness.
Environmental Consistency
Temperature is the hidden variable that ruins many micro-detail projects. Resin viscosity changes significantly with even a 5-degree temperature shift. Thicker, colder resin resists displacement during the lowering of the build plate, which leads to compression artifacts and "blooming." Maintaining a stable environment of 25-30°C within the printer enclosure is vital for repeatability and professional-grade accuracy.
Frequently Asked Questions
Why do my micro-holes always fill in?
This is usually a direct symptom of over-exposure. The UV light scatters laterally through the resin, curing the liquid trapped inside the holes. Reducing the exposure time and ensuring your resin is at the correct temperature will help keep these voids clear.
Does anti-aliasing affect micro-details?
Yes, anti-aliasing can actually soften the edges of extremely small features. For geometric micro-parts, it is often better to disable anti-aliasing or set it to a very low level to maintain the sharp pixel boundaries provided by the LCD.
Add Your Perspective