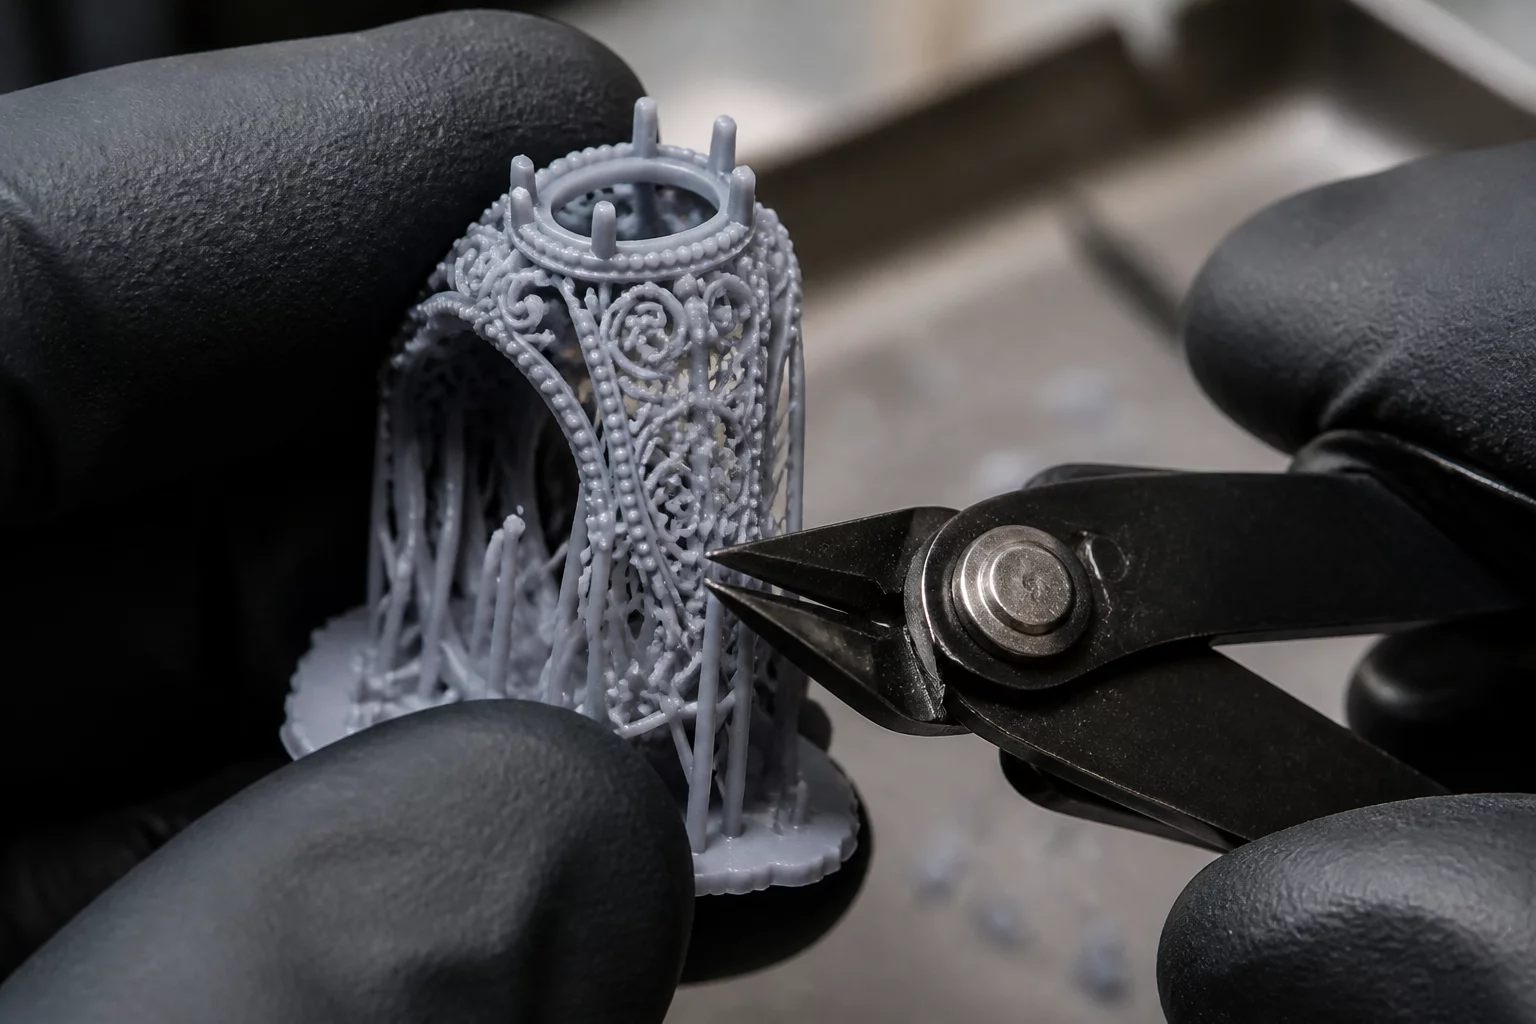
When printing miniature figures, complex jewelry patterns, or micro-precision engineering prototypes, support structures are a necessary evil. However, removing these support trees without fracturing thin walls or leaving unsightly divots requires a systematic approach. Understanding the physical properties of uncured photopolymer resin is the key to clean separation.
The Science of Softening: Why Temperature Matters
Uncured resin remains relatively soft and semi-flexible immediately after printing. By exploiting this transitional state, technicians can significantly reduce the force required to break contact points. Submerging the printed model in a warm bath (40°C to 50°C) for 30 to 60 seconds works wonders. The heat increases the elasticity of the thin support columns, allowing them to bend and peel away from the main body with minimal resistance. Otherwise, cold resin is brittle, causing the support to tear a microscopic piece of the model's actual wall during removal.
Recommended Tools for Precision Work
Relying on manual pulling is a recipe for disaster on details thinner than 1mm. Specialized hand tools ensure clean cuts without transferring stress through the support structure. The following tools are highly recommended for any professional workbench:
- Micro Flush Cutters: Ultra-thin blades that can slide into tight spaces to snip supports right at the contact point.
- Precision Hobby Knives: Best for shaving off leftover stubs on curved surfaces.
- Dental Picks or Tweezers: Useful for pulling away internal support webs from hollowed structures.
A Step-by-Step Support Removal Workflow
To consistently achieve pristine surfaces, adopt the following structured post-processing sequence:
| Stage | Action Details | Key Objective |
|---|---|---|
| 1. Solvent Wash | Submerge the print in Isopropyl Alcohol (IPA) or Tripropylene Glycol Methyl Ether (TPM) for 3-5 minutes. Use a magnetic stirrer to clear liquid resin from tight gaps. | Removes liquid resin that could cure and fuse supports to the model. |
| 2. Warm Bath | Place the washed, uncured print into warm water (45°C) for 1 minute. Do not use boiling water as it will warp thin geometries. | Softens the support contact points, making them highly pliable. |
| 3. Snipping | Use micro flush cutters to snip supports. Cut from the outer perimeter inward, starting with larger support trunks and finishing with delicate contact tips. | Prevents tension build-up that could crack fragile details. |
| 4. Drying | Blow-dry the model completely with compressed air. Ensure no moisture remains in crevices. | Prevents white residue and surface defects during the final curing phase. |
| 5. Post-Curing | Place the model in a UV curing chamber for 2 to 5 minutes, rotating it for even exposure. | Brings the resin to its final mechanical strength and hardness. |
Add Your Perspective