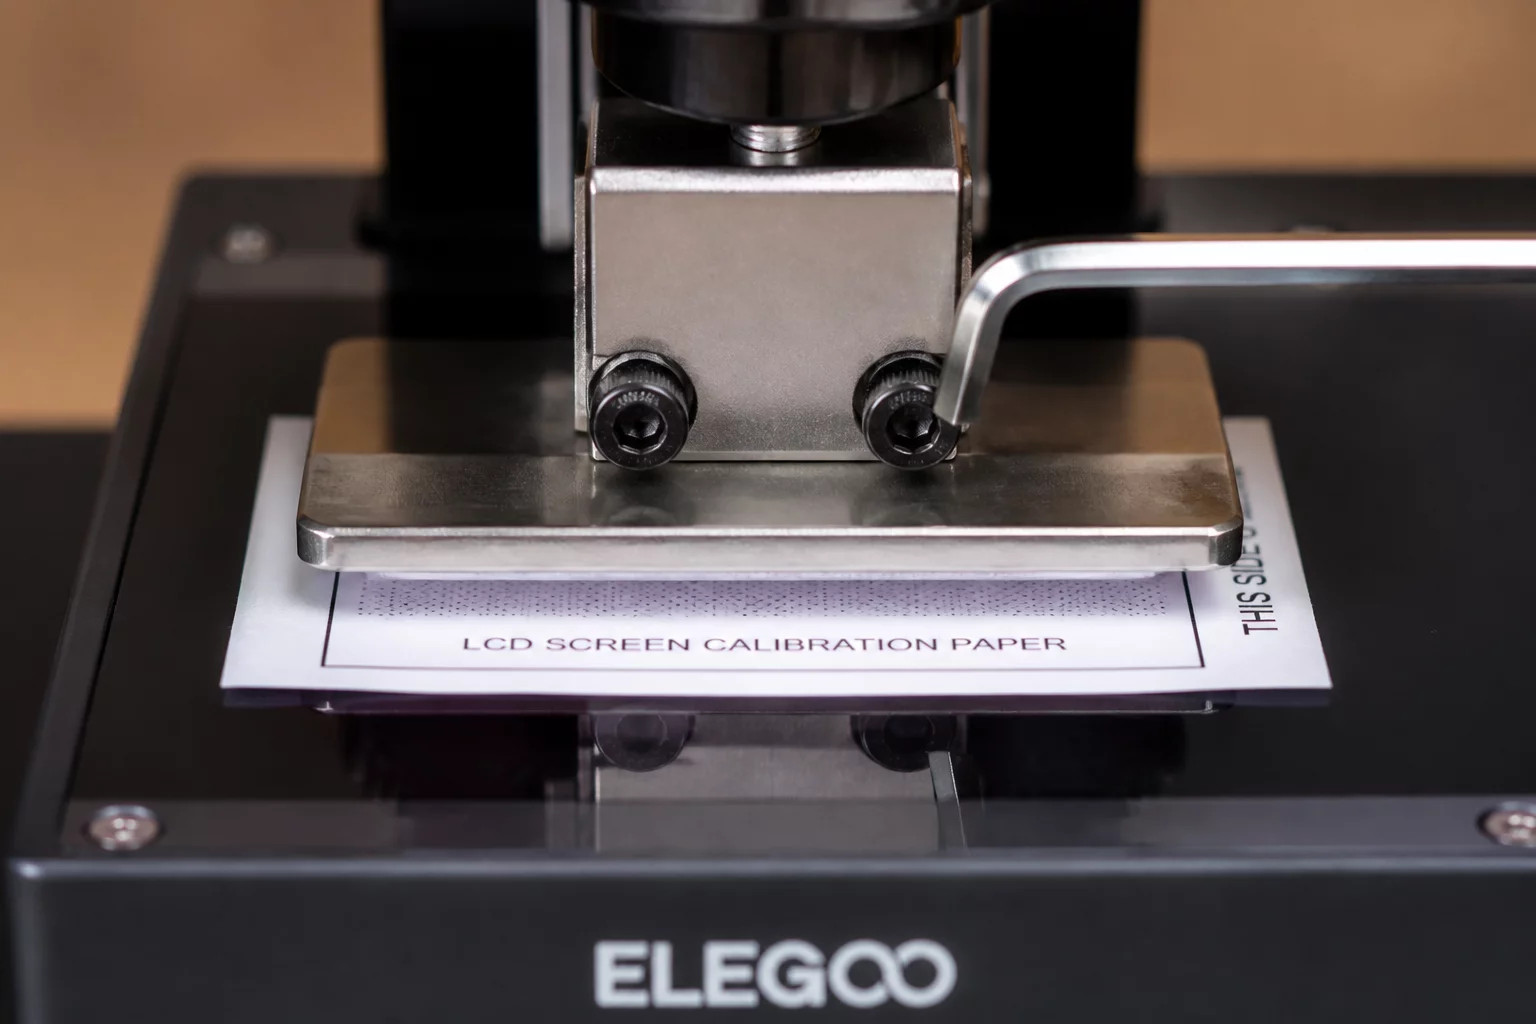
Curing the first layers of a photopolymer print correctly establishes a foundation for the entire model. Even a minor deviation in Z-axis zero calibration can lead to delamination, warpage, or complete adhesion failure on the build plate. Achieving absolute precision requires understanding the mechanics of liquid resin displacement and FEP film deflection during the initial exposure cycles.
The Critical Role of First Layer Calibration
Many desktop stereolithography (SLA) and masked stereolithography (MSLA) printers suffer from minor mechanical variances. The leveling process establishes a uniform gap between the aluminum build plate and the LCD screen. If the plate sits too high, the light cannot cure the resin sufficiently to stick to the metal, leaving a cured sheet at the bottom of the vat. Conversely, setting the plate too low compresses the initial layers, resulting in dimensional distortion known as the "elephant's foot" effect.
Standard Leveling and Calibration Procedure
For most modern MSLA printers, standard Z-axis calibration should be executed using the following precise protocol:
- Clean all interfaces: Wipe down the build plate and the LCD screen with isopropyl alcohol. Ensure no cured resin debris remains inside the vat or on the metal surface.
- Release bracket screws: Loosen the leveling screws on the build plate connector. The plate should move freely and pivot without resistance.
- Apply calibration paper: Place a clean sheet of standard 80gsm leveling paper or the manufacturer's calibration card over the screen glass.
- Initiate homing sequence: Command the printer to go to its home position (Z=0) via the control panel interface.
- Align and secure: Apply gentle, uniform downward pressure to the center of the build plate. Tighten the screws securely in a cross or diagonal sequence to prevent the bracket from tilting.
- Evaluate resistance: Pull the paper sheet slowly. You should feel firm, even friction across all four corners without tearing the paper.
- Set Z-zero: Save the current height as the hardware Z-zero reference in the system configuration menu.
Overcoming FEP Tension and Deflection
During the print process, cured layers must peel away from the FEP film. The tension of this film plays a significant role in successful first layers. A loose FEP film will deflect upward during build plate retraction, increasing the effective distance and leading to weak layer cohesion. Periodically check FEP tension using an audio spectrum analyzer app (aiming for 250–350 Hz) or a manual tension check, replacing worn or clouded films promptly.
Frequently Asked Questions
How can I identify if Z-zero is set too low?
If Z-zero is too low, the bottom layers are heavily compressed. This results in thin, squished bases, excessive flash or burrs around the edges, and extreme difficulty when removing the finished model from the metal build plate.
Should I calibrate Z-axis with the resin vat in place?
Yes, calibration inside the vat using the actual FEP film as a guide is highly recommended by technical teams. It accounts for the exact thickness of the FEP sheet, yielding more reliable offsets than the standard paper method.
Add Your Perspective