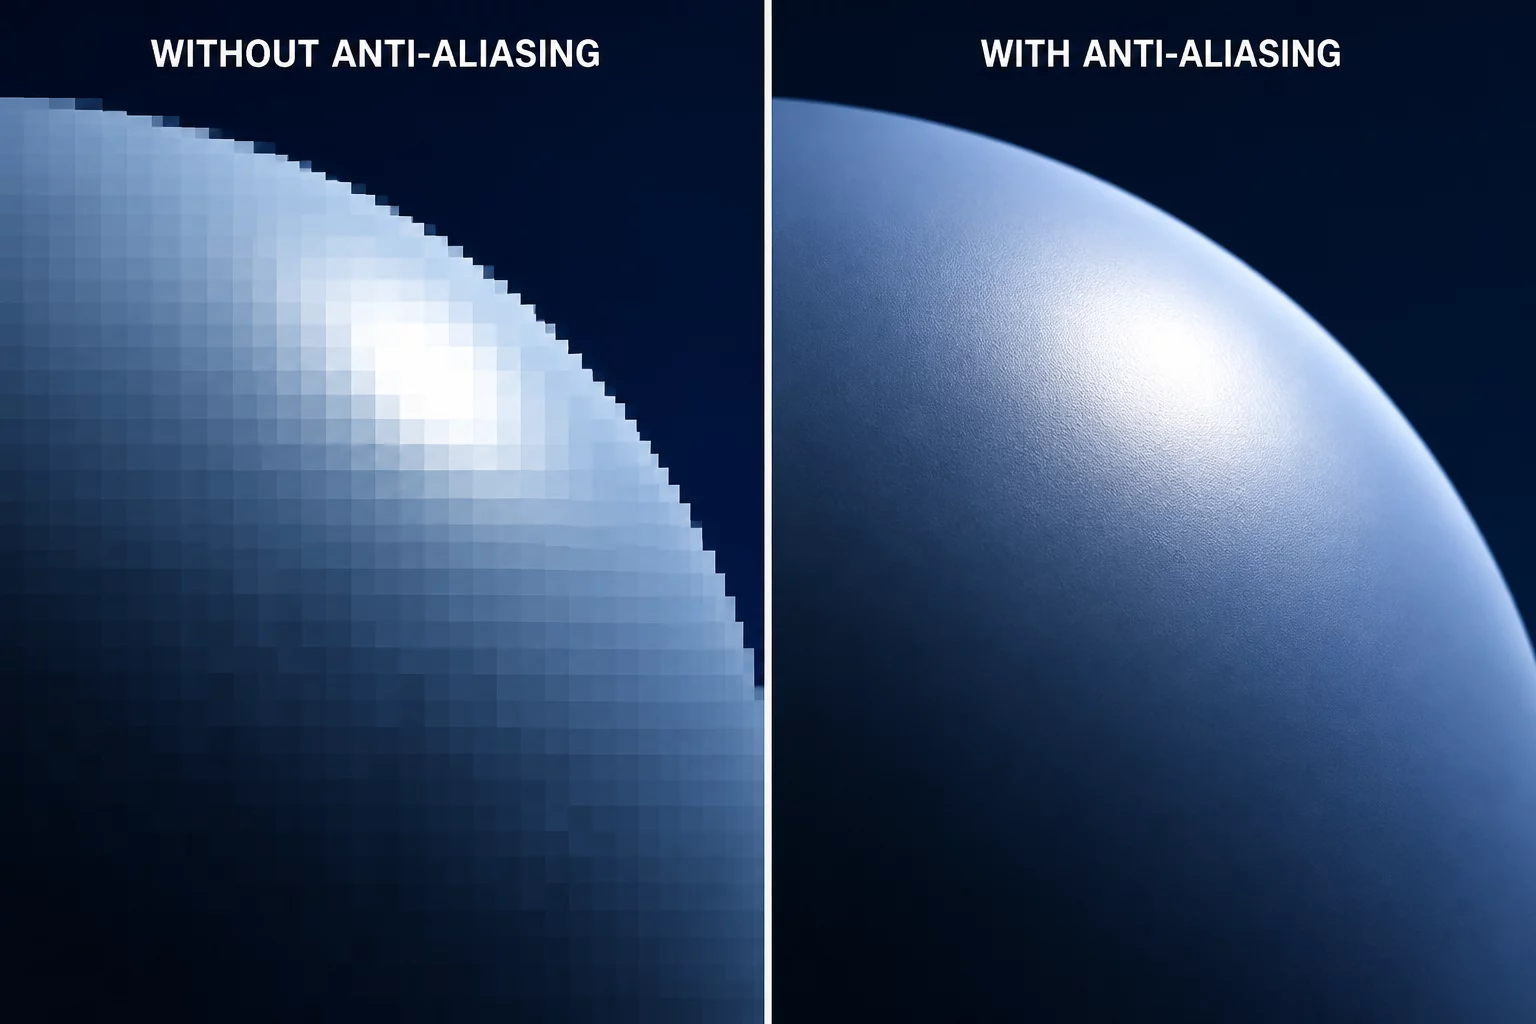
Resin 3D printing offers incredible resolution, but curved or angled surfaces often reveal the digital nature of the technology. Pixels on the LCD screen translate directly to microscopic steps on the printed object, a phenomenon known as aliasing or voxel lines. To combat this, modern slicers like CHITUBOX use anti-aliasing settings to smooth out these stepping artifacts. By utilizing grayscale pixels at the boundaries of the model, the printer softens the transition between layers, yielding a far smoother surface finish.
Understanding the key parameters is critical to getting the best balance between surface smoothness and detail retention. Here is how the settings work and how to configure them for your prints.
Key Anti-Aliasing Parameters
- Anti-Aliasing Level (AA Level): This defines the number of gray gradients used at the edges. Typical levels are 2, 4, or 8. Higher levels provide a smoother gradient but can slightly soften fine details.
- Gray Level: This controls the brightness threshold of the anti-aliased pixels. Adjusting this value determines how much resin cures at the pixel boundaries, directly affecting the final dimensions.
- Image Blur: Softens the transitions by applying a blur filter to the sliced images. A low blur level (e.g., 2) is usually enough to smooth curves without losing sharp corners.
Recommended Configuration Guide
For organic models, miniatures, and statues where smooth curves are vital, we recommend starting with AA Level 4, Gray Level 4, and Blur Level 2. This combination reduces pixel stepping without turning fine textures into mush.
If you are printing mechanical parts with tight tolerances, you should turn anti-aliasing off or use a minimal setting like AA Level 2 without blur. Anti-aliasing can cause slight dimensional bloating on flat vertical faces because the grayscale pixels create partially cured resin zones.
Add Your Perspective