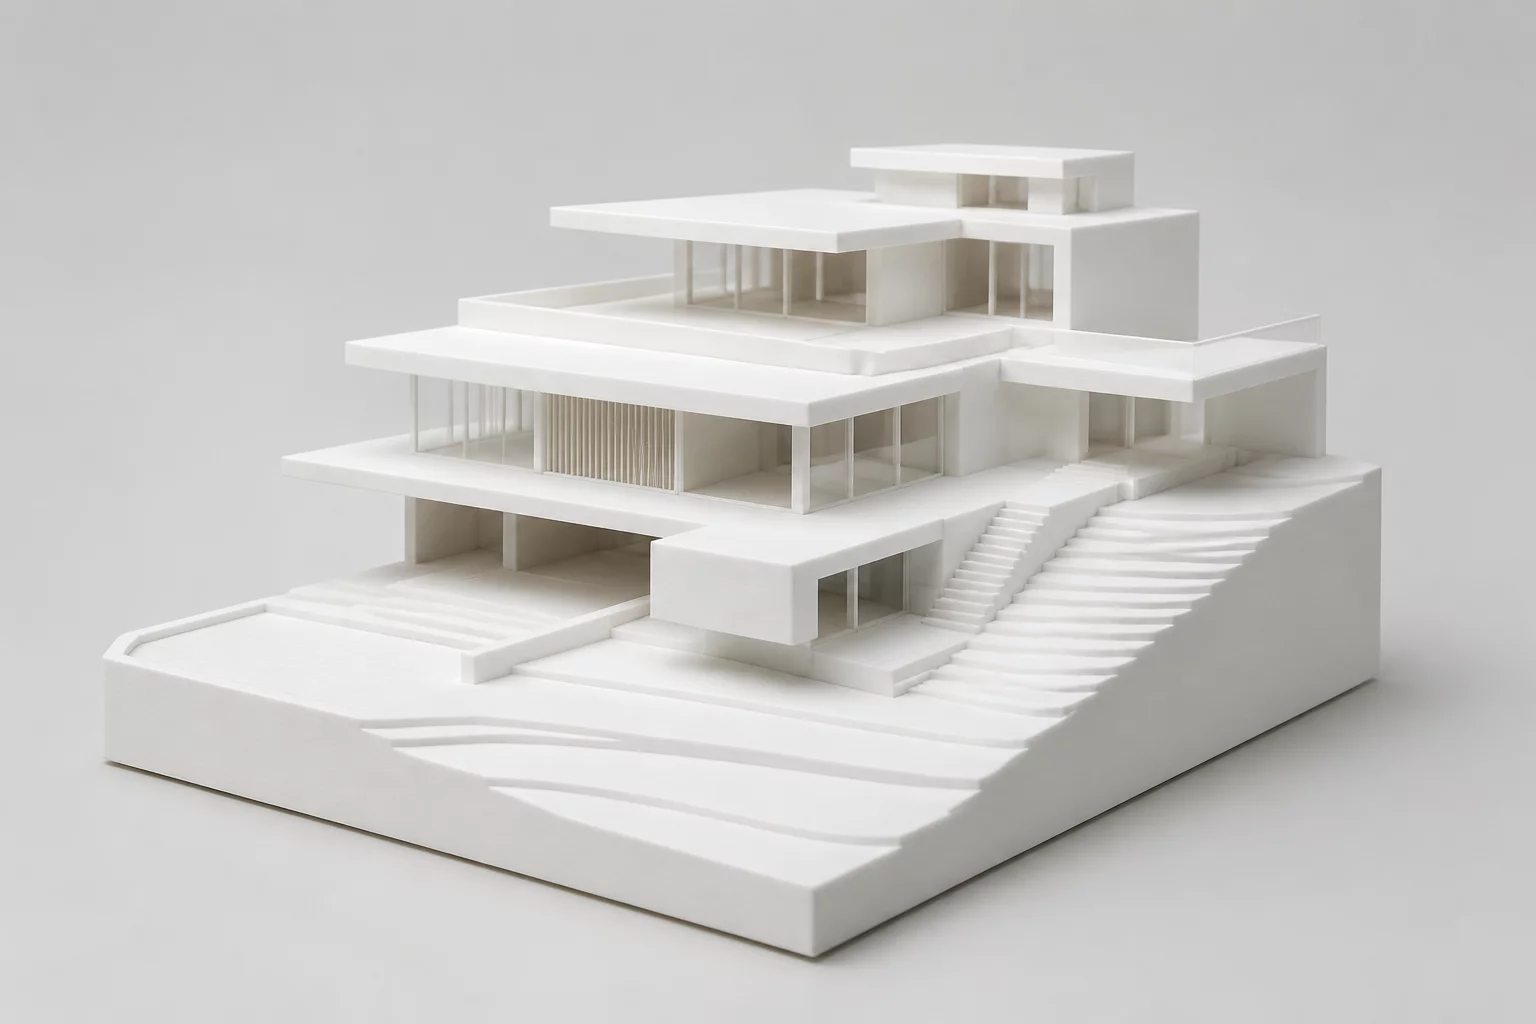
When dealing with high-precision photopolymer prints, orientation on the build plate is one of the most critical variables. This case study examines how adjusting the orientation angle affects the stability, surface roughness, and geometric accuracy of thin, delicate overhangs. Proper layout planning can drastically reduce post-processing work and eliminate the need for extensive support structures.
The Physics of Overhangs in Resin Printing
During the stereolithography (SLA/MSLA) process, each cured layer is subjected to mechanical stress when peeling away from the FEP or PFA film. When features are printed horizontally or at shallow angles, the surface area cured per layer increases significantly. This larger cross-section magnifies the peeling forces, which frequently leads to layer separation, warping, or total print failure.
By tilting the model, we distribute the cross-sectional area across a higher number of layers. Instead of curing a wide overhang all at once, the printer constructs the feature gradually. This reduces the peel force per layer, safeguarding delicate details and reducing the reliance on aggressive supports that leave ugly surface scars.
Experimental Setup and Slicing Parameters
To verify these effects, we designed a benchmark model featuring multiple thin architectural overhangs ranging from 0.5mm to 1.5mm in thickness. We ran two parallel test prints under identical environmental conditions using a calibrated MSLA printer.
- Test A (Flat Orientation): The model was positioned parallel to the build plate, relying on vertical columns of dense supports.
- Test B (Angled Orientation): The model was rotated 45 degrees along both the X and Y axes, utilizing self-supporting geometries where possible.
Both tests utilized a high-detail matte white resin with a layer height of 35 microns. The exposure time was dialed in at 2.4 seconds per layer, with a lift speed of 45 mm/min to minimize mechanical shock during peel cycles.
Comparative Results and Key Observations
The differences between the two methods were immediately visible after cleaning and post-curing. Test A suffered from noticeable sagging on the bottom-most overhangs, caused by the liquid resin pooling before curing. The contact points of the dense support structures left pronounced dimples and bumps, requiring extensive manual sanding.
In contrast, Test B displayed exceptional surface quality. The 45-degree angle allowed the overhangs to print cleanly with almost no support structures on the aesthetic faces. The stepped layer lines on the curved profiles were virtually imperceptible due to the anti-aliasing settings, and the dimensional variance was kept under 15 microns.
Practical Rules for Your Next Print
To implement these findings in your own workflow, we recommend adhering to the following rules:
- Avoid flat layouts: Always tilt your models between 30 and 45 degrees relative to the build plate.
- Position details upward: Keep highly detailed or aesthetic features facing away from the build plate so supports attach only to hidden surfaces.
- Manage suction cups: Ensure hollowed models have drain holes near the build plate to prevent pressure build-up.
Frequently Asked Questions
Why does orientation affect print speed?
Tilting a model increases its overall height along the Z-axis, which requires the printer to cure more total layers. While this produces a higher quality finish, it will extend the overall print time.
Can anti-aliasing help with angled surfaces?
Yes. Modern slicing engines use anti-aliasing to smooth out the pixelated steps that naturally occur on sloped or curved profiles, resulting in a cleaner finish.
Add Your Perspective